You’ve sown some seeds and they’ve geminated. You’ve got plenty of fresh green seedlings growing strongly but what next? When do you separate them from their friends and how do you do it? This short article answers these questions – explaining how to prick out your seedlings to grow them on strongly.
Why do you need to prick out seedlings?
Unless you’ve sown your seeds one to a pot you will need to prick out your seedlings. Left jostled together in a seed tray they will compete for light, water and nutrients. Their roots will hit the bottom of the tray and will outgrow the space available to them and they will begin to struggle.
Damping off is a fungal disease which strikes seedlings growing close together in a seed tray. The signs are pretty dramatic – your once healthy-looking seedlings start to topple over and curl up. It’s not a pretty sight but is easily avoided by giving them better air circulation and space in new pots.
How do you prick out seedlings?
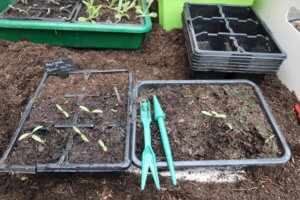
I usually use a pricking out tool which is a purpose made spatula-shaped plastic tool, a bit like a tiny narrow spade. Sets usually come with a mini dibber too to make holes in the compost in which to pop your seedling into. I don’t usually bother with the dibber as unless you make all the the dibber holes in advance, it means picking up and putting down two tools. I just use the pricking out tool to make a hole in the compost.
You do not need a tool like this at all though and a pencil will do the job just fine.
This little you tube clip shows me pricking out a tray of marigold seedlings and shows how to use the tool or a pencil to do this. Apologies for the lack of finesse in my appearance – self-isolation due to Covid-19 has kept me from the hairdresser!
If you’d like to read a description of how to do this, a step-by-set guide is also set out below.
A step-by-step guide
- Choose the pots or modules to prick your seedlings into. To minimise the amount of compost you will use, smaller plants could be sown two to a pot or module. Large plants or those that will be in a pot for a while before planting out can be sown one to a pot or module
- Fill the pots or modules with good quality compost (I always use peat free compost) and pat the compost down.
- Take your pricking out tool or pencil in your dominant hand and gently pinch a leaf between the thumb and forefinger of your non dominant hand.
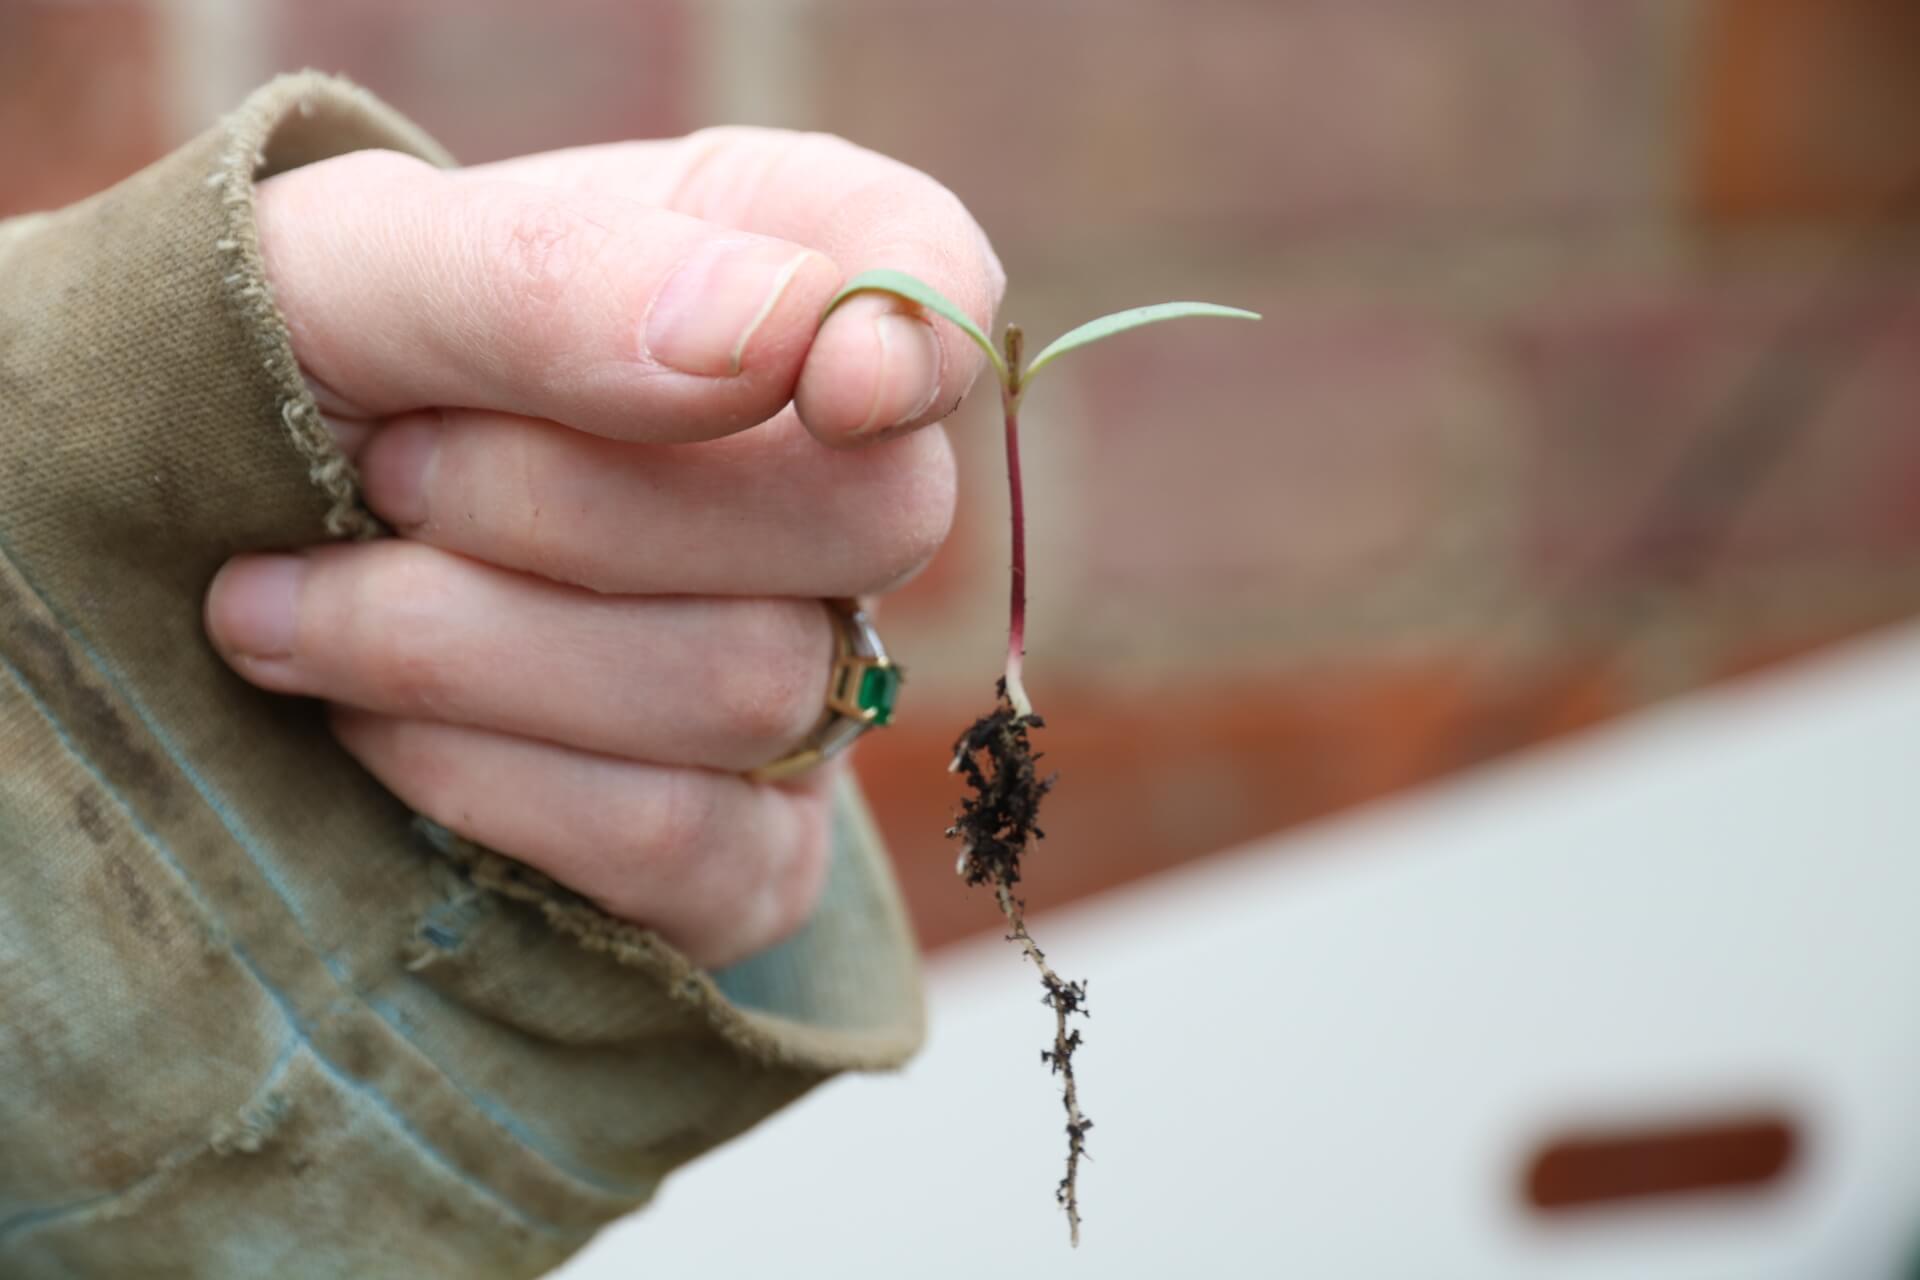
- Dig the pricking out tool or pencil deep into the compost under where the roots of the seedling will be. Lift up the compost whilst pulling very gently on the leaf of the seedling. Keep disturbing the compost under the roots until you feel the seedling come away.
- Still holding the leaf, lift the seedling towards your module and make a hole in the compost big enough to accommodate the rootball. Put the seedling in the hole and firm the compost round it gently with your tool or pencil.
- Repeat for all your seedlings and water them in. Try to use a watering can with a rose on it but even then the seedlings can get knocked over by the water flow. If this happens, prop the seedling upright with your fingers and firm in again.
- Make sure you label every set of modules or each individual pot/group of pots. If you’ve sown them indoors take them outside on good days to get them gradually used to outdoor temperatures but move them indoors if frost is forecast. The back of the seed packet usually gives good information on planting out times.
Pictures of me pricking out marigold seedlings
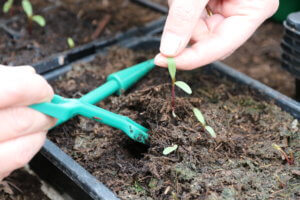
Grab a leaf between thumb and forefinger and carefully dig below the roots whilst gently lifting up the leaf.
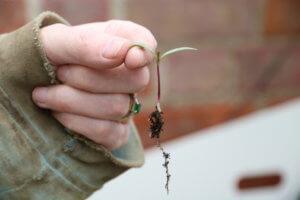
Release you seedling, roots and all and whilst still holding the leaf, move it over to your new pot.
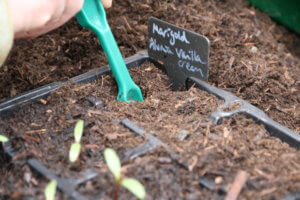
Make a hole in the compost of your pot or module, making sure it is big enough to accommodate the rootball of your seedling.
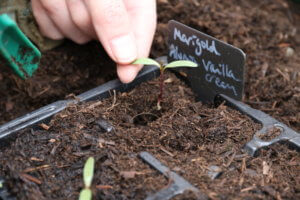
Place the roots of the seedling in the hole.
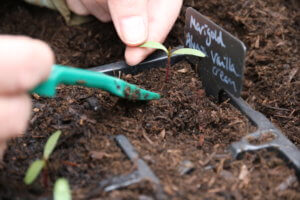
Gently firm the compost around the stem of the seedling, tucking it in securely.
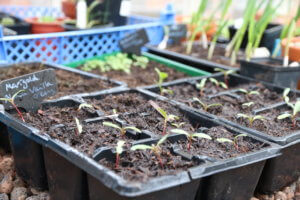
Water your seedlings in, propping up and firming in again any that get knocked over by the water flow. Label.
Growing from seed is a rewarding and cost-effective way to fill your garden. Many more varieties of flower and veg are available from seed than as ready grown plants. Master this and you’ll have superb choice at minimal cost.
For information on seed sowing and how to decipher the back of a seed packet click here.
I’ve also written guides on growing various veg and flowers in the UK. Click the links below.
Self-isolators guide to quick-growing veg
Growing Tomatoes outdoors in the UK
This was such a helpful video. One of the best I’ve seen. Clear instructions without loads of waffle and great images so I can see what I need to do. Thank you.
Thanks so much for your lovely comments Catherine and I’m glad my post has helped you. When I first started gardening I often found garden media glossed over the basics, which is why I thought this info might be helpful. I wish you many years of joyous seed sowing. There’s nothing better.
Hi Katherine, I’ve just come across your blog and found this little gem. So many gardening blogs tell you to to pick out seedlings and why, but don’t show you how. And here I have a clear, simple guide with no waffle, as one reader just commented. Very useful. Thank you.
Hi Rosemary. Thanks for getting in touch with your lovely feedback. I’m so pleased you’ve found it useful as it was indeed my intention to be straightforward. Good luck with your seedlings!
Really helpful video. About to prick out some coriander grown on my window sill.
That’s lovely feedback Jill, thanks. Good luck with your coriander!
Hello, super clear, thank you. If I’ve sown seeds to over winter (I think that’s the term) and don’t have a greenhouse would I be ok to put them into my shed (which has a window) over winter? House feels too warm, but wonder if shed will be too cold? Any advice grateful. thanks
Hi Maggie – it sort of depends what you’ve sown so if you want to let me know I can probably give you better advice. Some seedlings may be better kept in a sheltered spot outside and just brought in if the weather is very cold. Others will not survive outside. Some sheds are OK but they can be damp and lead to rot or fungal problems. Also the light will only come through the window from one direction, which will mean the seedlings will strain for the light and may become stretched. At the very least, you will need to go in there and turn them for even growth. I have a couple of spots in my house that I would try seedlings at a push – cool windowsills in the spare room for example would be preferable to my shed. Let me know your seed varieties and I’ll see if I can help better.